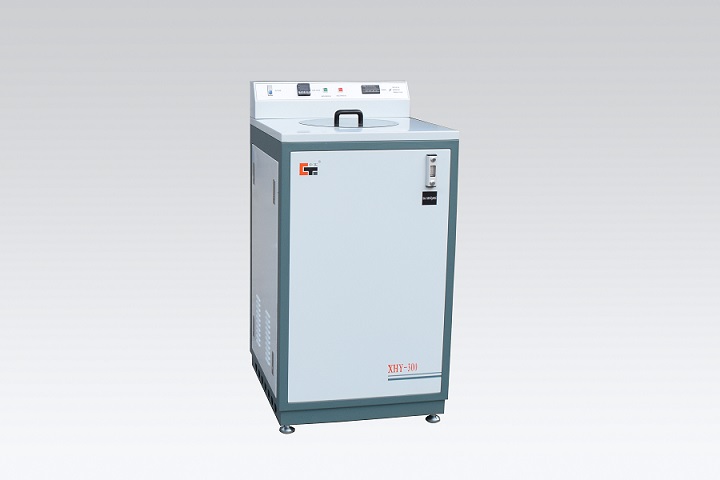
How to use Methylene Chloride Soak Tester
1, sample preparation: From the pipe to take a sample of 160mm pipe section, as far as possible not the case of material heating, carefully turning the sample section with a right-angle turning tool, and then gently polished with No. 800 water sandpaper, so that the smooth surface of the section.
For large-diameter pipes, the sectioned specimens can be cut along the axial direction to clean the inner and outer surfaces of the sample carefully with a dry rag.
2. Take out and place it on the
Methylene Chloride Soak Tester bench. Pour methylene chloride into a stainless steel container. The amount is enough to cover the slope of the sample, usually 30mm. Distilled water was slowly added to this container to form a water seal layer of not less than 20 mm thick on the dichloromethane.
3. Add 230mm deep purified water to the constant temperature bath, and place the sample container in the
Methylene Chloride Soak Tester thermostatic bath.
4. Connect the power supply and ensure that the temperature is correct. Then turn on the power supply of the temperature control meter. The upper display of the temperature control instrument shows the temperature inside the oven, the lower row shows the temperature set by the
Methylene Chloride Soak Tester, and the corresponding temperature value (15 °C) is input. After the cursor stops flashing, the entered value is stored in the instrument and the enter key is pressed to start the temperature control.
5, when the temperature reaches 15 °C ± 0.5 °C.
a. Packing the sample with the sample: The prepared sample is clamped on the sample holding clamp. After the sample is all clamped, it is placed in the sample container and the height of the sample from the bottom of the container is adjusted. Ensure that one side of the grinding surface of the sample is immersed in methylene chloride;
b. Loading of the entire tube sample: remove the sample holder, use a large tube hanger, first increase the height of the crossbar of the sample hanger, place the entire tube into the sample container, and then clamp it with a wire clip. The two sides of the sample, and then adjust the height of the bar.
Turn on the stopwatch and start timing.
6. Wait for the sample to keep constant temperature for 30 minutes (minutes) Put the sample on the surface of methylene chloride solution, dripping (10-15) minutes, remove the sample, and dry the sample for 15 minutes. (Note: Do not touch the impregnation portion of the sample during removal and drying).
7. Visually inspect the inside and outside surfaces of the specimen and the cross-section. Measure the breaking length of the inside and outside surfaces and wall thickness with a tape measure and vernier caliper, and record all changes. When the high temperature test is performed, the operation procedure is as above. When the temperature reaches the set temperature, the sample is to be heated for 1 hour and the test starts.


